Sunday 31 March 2013

Appearing in FSM

October last year, I submitted a question to FSM asking how to remove paint from a model. I quickly got an answer back and tried the method on my space shuttle. You can see the results here.

This march, I was surprised to see my question in that month's edition. I guess it's ONE way to appear in FSM. Maybe next time I should try with an actual model.


Tuesday 26 March 2013

Finished a very old one

Earlier this week, I fished a very old model out of the closet : Anakin's podracer from Star Wars : Episode 1.

Many years ago, it was about 95% finished, painted and decals placed. Only some final assembly was needed. The paintjob is far from perfect, but nice enough. Redoing it is impossible and tackling the decals would probably ruin them.


Saturday 9 March 2013

Clear gloss is tricky stuff

Since I was at my workbench anyway, the last thing I did with the airbrush was try some more gloss-coating the submarine. I sprayed it 1) thinned with the dedicated thinner, 2) straight from the bottle and 3) thinned with water.

I'm not sure if there was residue from the previous paint or just something iffy, but the first minute it sprayed light and decent (would need 4 coats to cover, but I can live with that), but then it started acting up again. Thinning with water was too runny. It's all dried up now and there's a big dry blob on the bottom of the nose, where it all pooled up.


Nothing a little sanding won't fix, I hope. Anyway, I know now that there's a "sweet" spot for thinning clear gloss (NOT with water) that I have to aim for and if it starts spraying a milky white sheen, I have to stop immediately.

I guess I can officially declare this sub a test-kit, because I doubt I'll ever get it the way I want it. Since all my kits have to be clearcoated at some point, best to keep practicing on the same model until I get it right.

I can do airbrush me

Another practice session, to put the Abrams in a coat of primer. I thinned the grey primer with water for the first time and the results are rather satisfying. Not perfect, but adequate.


Top half and the turret primed in grey. The underside and the wheels are primed in black. For the underside (and the inside of the fenders), I choose black, because I hope it will look a darker shade of the yellow I'll put over it.
For the wheels, it's just a practicality, since they'll be half black anyway.


Further airbrushing with dark yellow for the Puma and gold for the Enterprise yielded various degrees of success, but all in all it was a good session.

Tuesday 5 March 2013

Testing another airbrush

At the monthly IPMS meeting, one of the members brought his airbrush for others to try out and toy around with. There are many members new to airbrushing (including me), so this was the ideal opportunity to test a new or different model.

It was a bottom feed but I doubt that changes much. It sprayed a lot less paint than my own, but it did it consistently. The most important thing I noticed is that it just sat there, used by different persons during at least 5 minutes and dry-tip never occured. He was spraying Tamiya acrylics, thinned with water. It's difficult to say if it's better paint or just a better airbrush. There's so many variables to play around with, it's hard to find which combo is most effective.

Got some new tips and ideas to play around with for the next airbrush session. Mainly : more thinning and thinning with water (so far, I only thinned with the Vallejo thinner).

I'll try not to let it rest another 2 months. As long as 50% of what I'm doing looks good, I must not see it as a half-failed session, but as practice. It's a difficult tool to get to know, so I shouldn't quit after a mere 20 hours of practicing.

Saturday 2 March 2013

Once more unto the breach

After more than 2 months, I really needed to practice some more airbrushing. There's only so much you can do on a model without the need for painting, and I don't want to just glue them together and start on the next.

I started priming the less visible places of the Abrams. I did the inside of the fenders with black primer. Following a recent tip, I did long strokes accross the entire model, slowly building up paint coverage. This went really well. The dry-tip is almost under control, although it's still needed far too frequently, if you ask me.

Constantly cleaning the tip does leave residue and paint flakes in the nozzle and around the tip, which results in the occasional splotch ending up in the paintwork. I think I just want to do too much in one go and need to stop to clean the nozzle more often.

Switching to the grey primer again was more difficult. I'm not sure if I didn't clean the brush poroperly or if there's something iffy about this particular paint. Coverage just seems difficult to get, unless I paint it really wet. I stopped halfway to let it dry and add a second layer later.

The current problem is that there seems to be a buildup of paint on the bottom of the nozzle. Since it's pointed away from me, I only notice this when it's too late, i.e. when numerous thick drops of paint suddenly fly towards the model and ruin the paintjob.

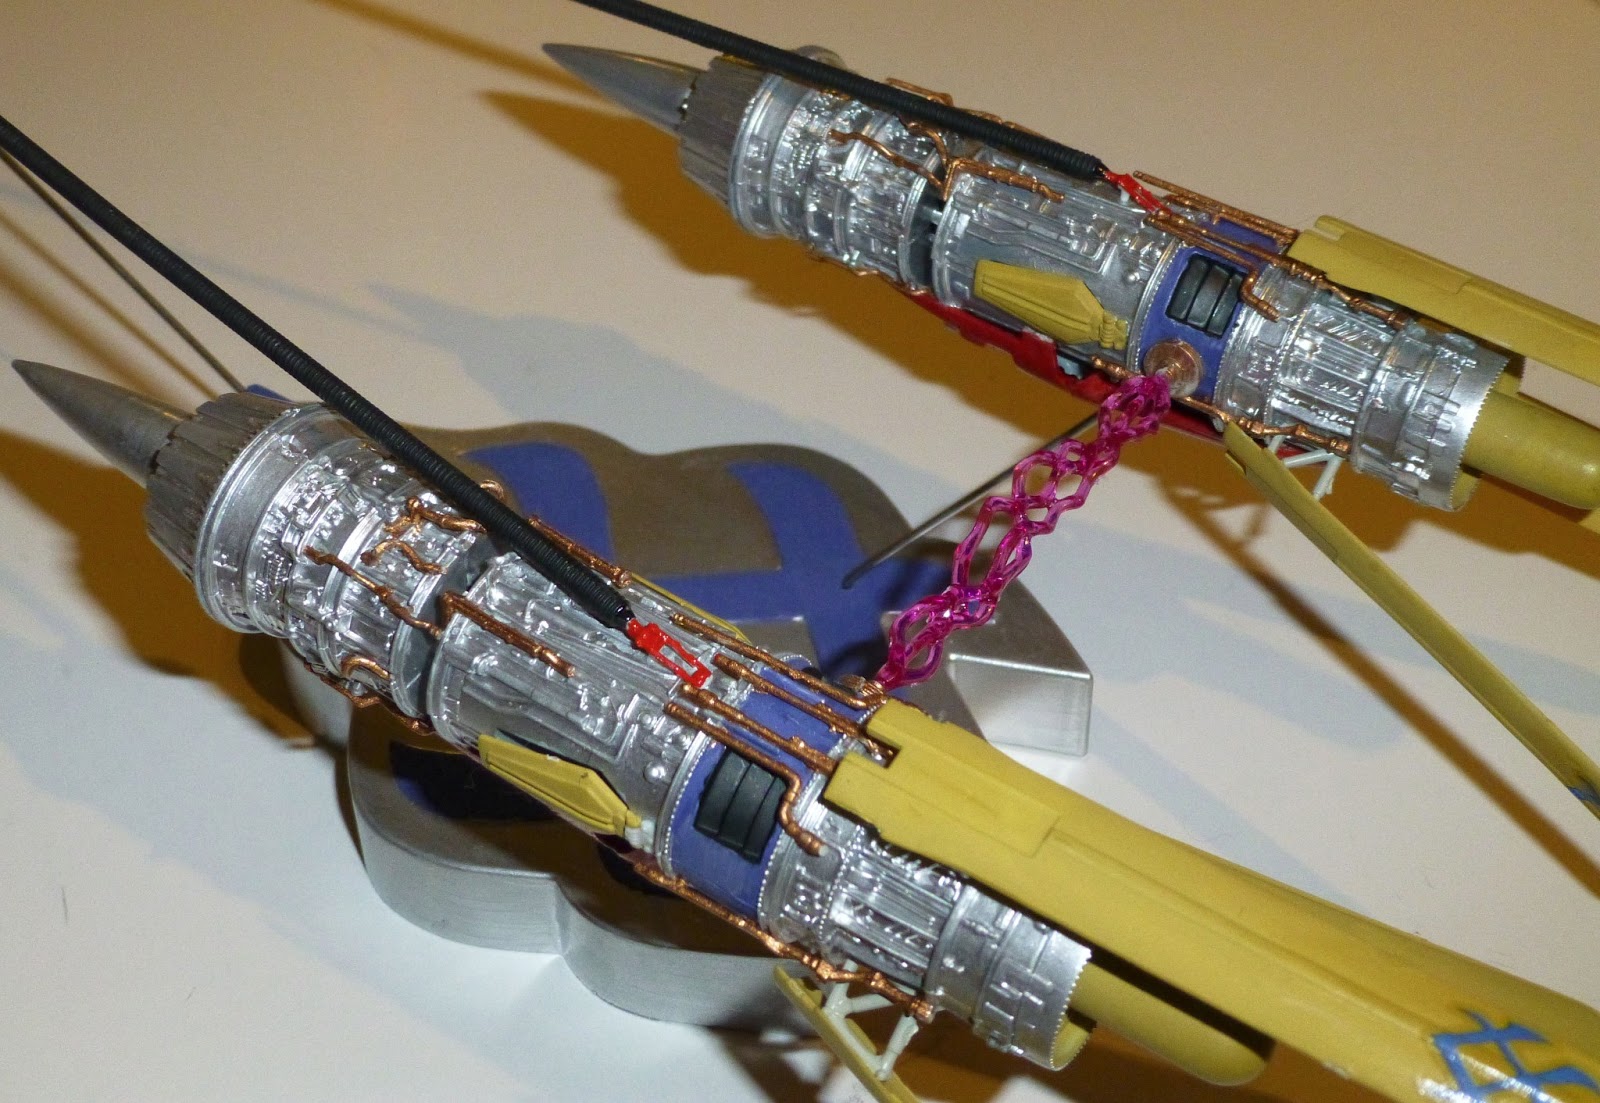
Lastly, I tried putting another coat of gold on the Enterprise's display stand, but here also the droplets of paint made it worse instead of better.

Examing the airbrush, when I retract the needle from the nozzle, I noticed that the needle is not centered inside the nozzle but sticks to one side. The needle is not bent, because if I turn it 180 degrees, it still sticks to the same side of the nozzle. It must be the internal guidance of the needle somewhere. I've yet to determine if this is the cause or has nothing to do with the current issues.